Today I Learned: Making a Simple Interactive Shell Application in Golang
How I make a simple interactive shell in Golang

So today, I learn something new and a bit of basic thing in Golang. It was making a simple interactive shell. It was just a very simple application, but it kinda looks cool to make it.
I’ve been working over 1 year in Golang. So many tools already created by people out there, for example: cobra by spf13, or many more that help us to make command line application. But, somehow I’m curious how to make a simple one without having dependencies with other external libraries.
So just out of curiosity, I start to search how to make it in Google. But what I found is only tutorial using other external dependencies. Everyone is only promoting their own library to ease making an interactive shell 😌. Guys? I just need to make a simple one with the pure Golang package (No external dependencies)😌
But, I found an article about making an interactive shell, like this article: http://technosophos.com/2014/07/11/start-an-interactive-shell-from-within-go.html, but, what he does is not like I want. So later with only many examples that I found from websites like Gobyexample.com, etc.
I made a simple Shell application by myself. Here I will explain how I made it below.
Shell
So before making a simple Shell application, I want to make sure that what I mean shell is the same as what you mean.
For me, Shell is an application that will act as the very basic user interface (text-based interface). Some people might say it Command Line Interface (CLI).
Making The Application
To make the application, for the simplest prototype I will make it like this.
$ ls
go.mod  main.go
Read the Command from Terminal
To make this, the first thing to do is reading the input. I need to read the input from the terminal. To that, I make it like this.
reader := bufio.NewReader(os.Stdin)
cmdString, err := reader.ReadString('\n')
if err != nil {
 fmt.Fprintln(os.Stderr, err)
}
Execute the Command
Then execute the command. After reading the command string from the terminal, now execute the command.
cmdString = strings.TrimSuffix(cmdString, "\n")
cmd := exec.Command(commandString)
cmd.Stderr = os.Stderr
cmd.Stdout = os.Stdout
cmd.Run()
Until here, now I can run my simple shell application, but it will only run for one command. After running a command, it will stop.
Adding the Infinite Loop
To make it receive every command after executed once. We need to add it to an infinite loop.
for {
 fmt.Print("$ ")
 cmdString, err := reader.ReadString('\n')
 if err != nil {
  fmt.Fprintln(os.Stderr, err)
 }
cmdString = strings.TrimSuffix(cmdString, "\n")
cmd := exec.Command(cmdString)
 cmd.Stderr = os.Stderr
 cmd.Stdout = os.Stdout
 err = cmd.Run()
 if err != nil {
  fmt.Fprintln(os.Stderr, err)
 }
}
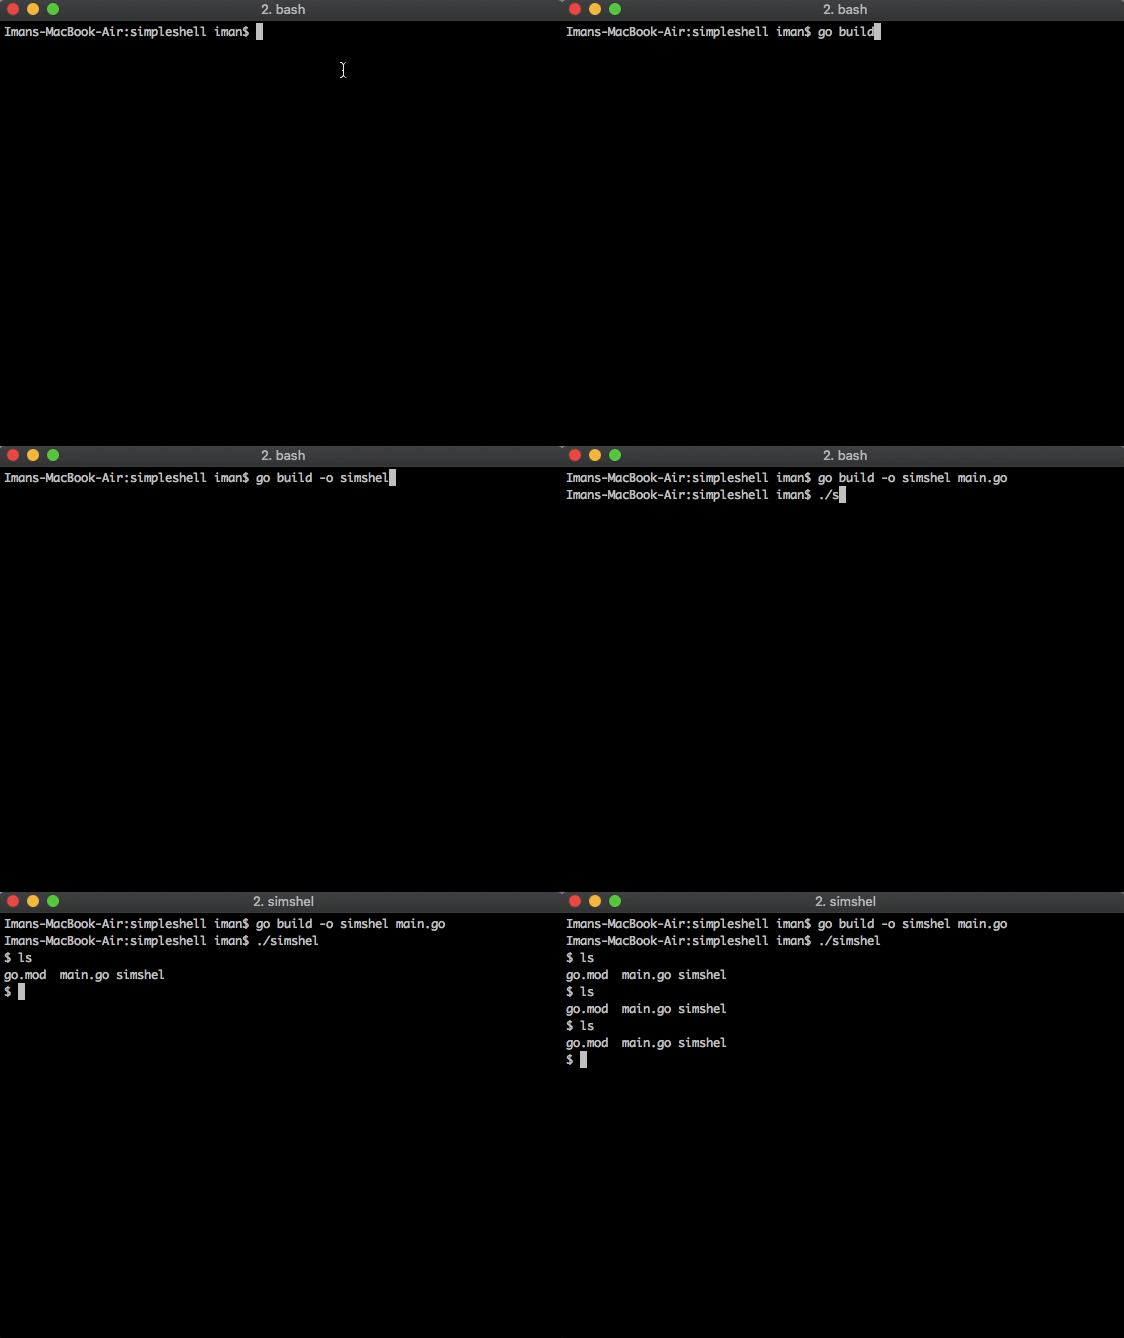
If we run the application it will look like this below

simple shell application
Dealing with the Arguments
Until this line, I’ve finished my first CLI application. But it still doesn’t accept arguments. If I pass an argument, then it will throw an error.
$ ls -lah // this command wil throw error
To read the arguments, I make it like this below. First I split the command into an array of string.
// ...
cmdString = strings.TrimSuffix(cmdString, "\n")
arrCommandStr := strings.Fields(cmdString)
cmd := exec.Command(arrCommandStr[0], arrCommandStr[1:]...)
// ...
For splitting the text, I use the Fields function from package string. This function is similar to the split string function. If string.Split will split the string by given specific separator. But strings.Fields will separate the words by whitespace.
Example:
str := "Hello World    Beautiful World"
arrString := strings.Fields(str)
fmt.Println(arrString)
// [Hello World Beautiful World]
Now, my simple shell is already accepting and process the given params. Now, this command should be worked.
$ ls -lah
total 4280
drwxr-xr-x  5 iman  staff   160B Nov  6 19:48 .
drwxr-xr-x  6 iman  staff   192B Nov  6 11:41 ..
-rw-r--r--  1 iman  staff    38B Nov  6 11:43 go.mod
-rw-r--r--  1 iman  staff   606B Nov  6 20:11 main.go
-rwxr-xr-x  1 iman  staff   2.1M Nov  6 19:49 simshel
Adding the Exit Command
But, this application is only worked for any built-in application that registered in the environment. Command like exit is not exist, because it is programmed in every CLI application. Then, I make a switch-case handler for each command that doesn’t have a built-in application in the system like the exit command.
Adding the Custom Command
To add custom commands, I could simply add it to the switch-case handler. For example, I want to add a command like plus. This command does not exist in any CLI application out there. I want to make it like this:
$ plus 2 4 5 6
17
To make this, I just need to add a sum function and add the command case handler in the switch-case
Conclusion
In the end, it’s only a very simple application. But for sure, I learn a few things when making this. And also, when writing this, I found a similar article with this article (here: https://sj14.gitlab.io/post/2018-07-01-go-unix-shell/). After reading that article, I’m thinking of discarding my draft. But, I’ve written a lot of explanation and example here, so then I decided to post it anyway XD.
Anyway, I’ve put the source code in my Github too here: https://github.com/bxcodec/simpleshell, if just some chance happens, I will try to add some feature into it later.
*Indonesian version: https://medium.com/easyread/today-i-learned-belajar-membuat-aplikasi-interactive-shell-sederhana-di-golang-2ef013003393
Originally posted at: https://hackernoon.com/today-i-learned-making-a-simple-interactive-shell-application-in-golang-aa83adcb266a